


Ok ladies, where are all of my brow girls at?! Lets be real, aren’t we alllll about them brows these days?! 😉 I know I’m not the only one that looks back at pictures from high school and cringes at the fact that the skinnier and thinner the brows were, the better?! Here we all are now trying to grow them babies in and get that nice fullness and definition. I have to be honest, I’m not sure how or why, but I never had a hard time getting my brows to grow back in after those high school days (or at least I don’t remember the struggle). For those that are currently struggling I would recommend using a lash serum to get them babies to grow (I’m sure I’m not telling you anything you don’t know!). Even though I have a decent amount of fullness to my brows I would like the fronts to be a little more filled in so I have actually been putting the leftover serum from my Latisse brush on them after I use it on my lashes and have noticed that helping out some.
With that being said, even though I have a decent amount of brow hair it is blonde so without the help of some tinting you wouldn’t really be able to see the definition of them. I started tinting them a while ago, but just within the last year or so came across the perfect tint combination that I am able to do at home. Let me tell ya, it has made things soooo much easier as far as up-keep and maintenance goes. Previous to using this tint I always had a hard time getting my brows to stay a nice ashy brown color. Most times when I went to a salon or spa to get them done, they would last two weeks then turn a red color which is not what I was looking for. This tint holds it color for a good 4-5 weeks and does not fade to a golden red so if you can’t tell, it is a win-win for this chick!
So, if you’re looking for a good and easy combo to add to your beauty routine to keep those brows looking fresh, follow my steps below! 🙂
Step One: Start by making sure your skin is cleansed and your brows have nothing on them. You want to make sure the dye can penetrate the hair so it is important that nothing is blocking it. You will also want to make sure your brows are cleaned-up and shaped to your liking as well.
Step Two: Start with one to two pea size dollops of the tint in the glass jar
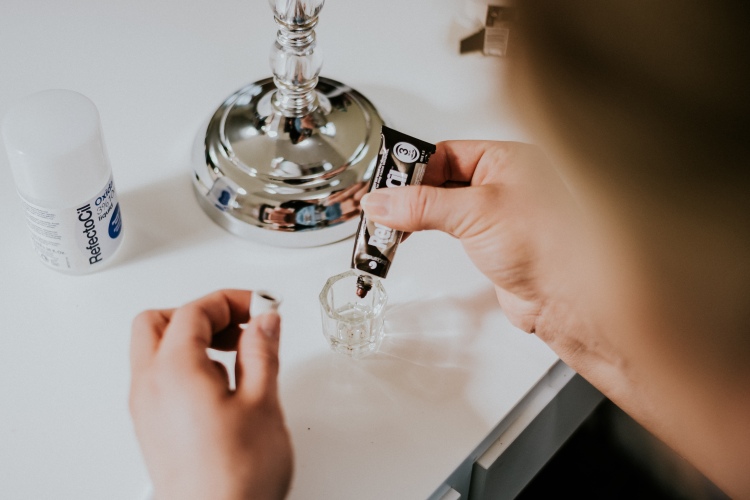
Step Three: Add 2-3 drops of the Oxidant to the tint and mix inside the glass jar using the plastic mixing stick provided. You should have the consistency of a paste once it is mixed. If need be, add more oxidant, but make sure it doesn’t get runny.


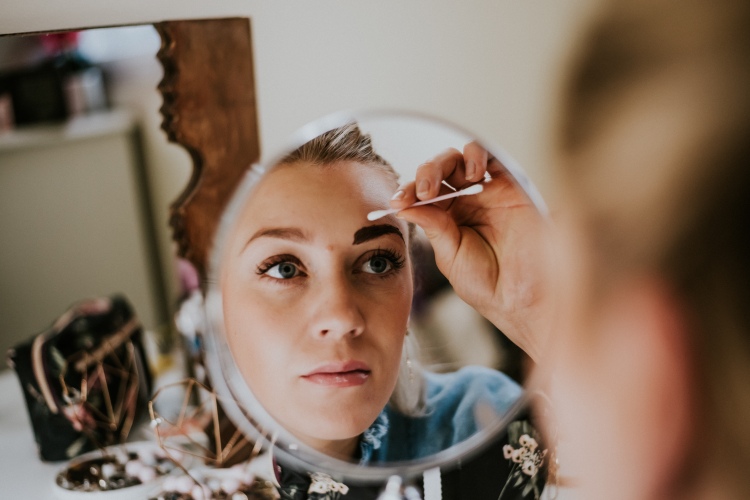
Step Four: Using the brush provided, start at the beginning of your brows and brush on the paste you have mixed in the jar. I personally like to do more of a dabbing motion versus brushing it on as you want it to be thick enough on your brows, but you will find what works best for you of course.


Step 5: Use a clean q-tip to clean-up the edges where the dye may have gotten outside the hairline.
Step 6: Once you have the dye on both brows you will let them process for a good 3-4 minutes (again, you will find what works best for you as far as processing time the more you do this).
Step 7:After the dye has processed, using a wet towel wipe the dye off the brow you started with. I just grab some paper towel and get it wet so it can be tossed afterwards.
Step 8: Say hello to beautiful tinted brows!

As I mentioned above, this dye has done wonders for my brows and has been a step in my beauty routine that I’ve been able to do at home which is a huge plus for this soon to be mama! Not only that, but this entire combo is so reasonable on Amazon and will last you forever! There are a few different colors to choose from so you will have to determine what will work best for you and your hair color of course.
I hope you all enjoyed and are able to add this at-home process to your beauty routine, I know you will love the ease of it!
Until next time…
XO
♥ Paige
Dye kit: Amazon
